Macro Photography
Exploring the Miniature — An Introduction to Macro Photography
April 04, 2018
Like many types of specialised photography, macro photography brings with it a whole new set of challenges and often requires some unique tools and skills that are completely different than what we would use in standard photography.
First off, let’s do our best to define what macro photography is. A simple Google search defines it as “photography producing photographs of small items larger than life size”.
Shot on the Canon EF 100mm f/2.8L Macro IS USM: 1/320th at f/2.8 and ISO 200
Historically “larger than life size” meant the actual size of the item as recorded on the film that was used in the camera. Now that our cameras are digital and we have the ability to view our images at any size and often even crop into ultra high resolution captures, this strict interpretation of “larger than life size” is not really that important for the beginner wishing to explore macro photography.
For most photographers, marco is about getting in really close to explore the details.
Shot on the Laowa 25mm f/2.8 Ultra Macro
What do we need to deal with as we attempt to get closer using our existing lenses?
- Does our lens focus close enough? Minimum focus distances are often 10’s of centimetres for standard lenses, yet we want to get even closer.
- Do we need more in focus? The closer we get the less depth of field we have. To get more in focus we need to stop down, but this in turn means we need more light.
- Do we have enough light to get a short enough shutter speed to capture a sharp photo?
- Is our subject moving or static? We might need even faster shutter speeds to stop the motion.
You can quickly discover, light levels are one of the principle problems we face as we to capture our subject up close. To stop motion, get it all in focus and sharp, all requires ample light. This might be ok if we are shooting outside in bright sunlight, but for indoor macro shooting you very quickly discover that you are going to need either lots of light, or alternately, if you are shooting static subjects— locking down the camera on a tripod and using long exposures.
Shot on the Canon EF 100mm f/2.8L Macro IS USM: 1/1000th at f/2.8 and ISO 200
But what if you can’t even get close enough to the subject due to the focus limits of your lens?
This is where the dedicated macro lens comes into its own — to start, they are designed to focus very very close. So close that they can often block the light to the subject.
Many modern macro lenses also are image stabilized (IS). For any type of hand held macro shooting, modern IS is very useful as you are always fighting for light and anything that can help you bring down the shutter speed while still enabling a sharp capture is desirable.
For example, the
Canon EF 100mm f/2.8L IS USM Macro Lens has what Canon calls a 4 stop Hybrid Image Stabilization system that can even take into account shift movement between the subject and the lens.
Many macro lenses are manual focus only. This is not something to fear as pretty well every modern camera has a live view rear LCD screen that shows you exactly what you are going to be capturing and easily enables manual focus operation. If you are intending to shoot hand held with a manual focus lens you might find this a bit more challenging. However, manual focusing on many of the modern mirrorless systems is much easier thanks to their electronic viewfinder focus assists.
Lastly there are specialised macro lens that have no focus ability at all such as the
recently introduced Laowa 25mm and
Canon MP-E 65mm. These type of macro lenses need to be moved back and forth from the subject to focus and often need a specialised tripod macro slider that enables this smooth focusing movement. The KIWI FC1 Macro Slider is a good choice for this this type of application. Keep in mind that this type of slider can be very helpful with any type of macro lens. You will find that subject to lens distance is a critical element in your macro photography and smooth control of it can be very desirable.
Shot on the Canon EF 100mm f/2.8L Macro IS USM: 1/400th at f/2.8 and ISO 400
What to look for in a Macro Lens:
Long or Short Focal Length: Focal length of the lens, as always states the angle of view of the lens. As we tend to fill the frame with our subject in our macro shots the angle of view is not used in the exact same way as we would use in say a landscape shot. In macro photography we don't tend to work with foreground and background as separate image elements expecting to keep both in focus. Macro photography tends to be about one key subject isolated from the background and as such, almost any focal length can be used as long as it meets our object to bring the subject into the frame and focus on it. In general, the longer the focal length, the greater the working distance from subject to lens for a given magnification factor. Longer focal length models also tend to make background blurring more effective for a given subject framing and aperture setting.
Magnification Factor: This is stated a ratio where 1:1 is the most common value. This means the size of the subject will match the size of the recorded image on the camera’s sensor. Higher values enable greater levels of magnification.
Remember that swapping between full frame and APS-C sized bodies can also be a useful technique to increase your effective magnification.
Lens Length and Front Element Rotation Fixed: As you will often be working very close to the front of your lens it is important to keep the lens from touching your subject as you operate the lens. Macro lens that extend in length when adjusting magnification ratio can be more difficult to use handheld and often needed a macro slider for tripod usage. A non-rotating front element enables easy use of polarising filters if necessary.
The
Canon MP-E 65mm and
Laowa 25mm are this style of lens and while they can be more difficult to use, they do provide up to 5x magnification factors.
Lens Collars: Where available these help when tripod mounting and often enable a better balance on the tripod which in turn can help reduce mounting vibration. These collars are often used to mount macro flash brackets.
Infinity Focus: As a macro lens is often an expensive addition to your kit, if you can get more use out of it for non-macro photography, this could be a deciding purchase feature. Fast macro lenses that have infinity focus are often well suited for portraiture.
Compatibility with Extension Tubes and Extenders: As macro lenses are normally fixed focal length, it can be very useful if they are compatible with your exisiting collection of extension tubes and extenders. Extension tubes can enable an even closer focus distance (and slight magnification ratio increase) while extenders can increase the magnification ratio by 1.4 or 2x depending on the model used.
Focus Breathing: Depending on the lens design, the image size can change with focus range. In general, this is not a huge issue for the macro photographer. However if you are capturing for software based focus stacking this issue can possibly effect the quality of your output and therefore should be part of your purchase decision.
Tilt-Shift Macro Lenses: Canon has recently introduced 3 new Tilt-Shift lenses that all feature closer minimum focus distances and 0.5x magnification factors. These new lenses are compatible with extension tubes and extenders and with the added flexibility of lens movements, the never ending battle to gain depth of field in macro photography can be enhanced.
Shot on the Laowa 25mm f/2.8 Ultra Macro
Depth of Field and the Macro Lens
This is the one area where macro photography starts to get difficult and there are only so many ways one can deal with it. The basic fact is — the closer the subject is to the lens and the longer the focal length, the lower the depth of field is going to be. There is only so much that can be gained by stoping down and often it is just not enough for the subject at hand. Keeping the subject parallel to the plane of focus can help, but this is not going to work if the subject is 3 dimensional. Of course looking straight on at the subject is often not the composition you require.
In these cases the only way to achieve extended depth of field will be to capture a range of shots at different focus ranges and focus stack the resulting files in software. The recent versions of Adobe Photoshop include this feature so it is not something to shy away from. The results can be most impressive when used correctly.
Working with Additional Lights
As we mentioned earlier, light is something always in short supply in our never ending quest for greater depth of field in our macro photography. The one upside to this problem is that thanks to the very close working distances involved in macro photography, adding in additional light from either continuous light panels or while flash doesn’t require huge power levels.
When working with extra lights, you do have to be aware that very small positional changes with the lights can have a huge effect on lighting levels and ratios in the scene as the working distances are so close. You also have to be careful that the lights and the lens don’t get in the way of each other, because of the close working distances. The solution is often to use very small lights (point source LED’s are very popular) and even dedicated macro flash units. Most of the major brands have hotshoe flash units with flash heads that mount on the front of lens designed for exactly this purpose.
Canon has recently introduced 2 affordable macro lenses that include their own built in LED ring lights that could be a very good starting lens choice for Canon EF-S and EF-M photographers.
Shot on the Laowa 25mm f/2.8 Ultra Macro
Macro on a Budget
As getting in close is basically what macro photography is all about — you might want to know if there is anyway to just focus closer with the lenses you already own.
The good news is yes, and there are 3 simple and affordable ways to achieve closer focus distances.
- Extension Tubes: These simple tubes mount between the camera body and the lens and enable the minimum focus distance to be decreased. However when used the range of focus is dramatically reduced and infinity focus is lost. The upside is they are inexpensive and all automatic features of your lens are maintained. They normally come in sets of 3 with varying thicknesses. They have no optical elements in them and therefore don't degrade the image in any way.
- Close Up Lenses: These specialised lenses mount on the front of your existing lens much like a filter and enable much closer minimum focusing distances. They are the solution for all in one cameras where extension tubes can't be used.
- Reversing Rings: These devices enable the reverse mounting of a standard lens on a camera which has the interesting side effect of enabling closer focusing. All automatic control of the lens is lost and these rings are best used with all manual lenses. Manual aperture control on the lens will be required if you wish to increase your depth of field by stopping down. An old manual 50mm prime lens is commonly used with a reversing ring for macro photography.
So now that you have the macro basics covered, it’s time to start exploring the miniature world
Info from

Melbourne Australia
Keith


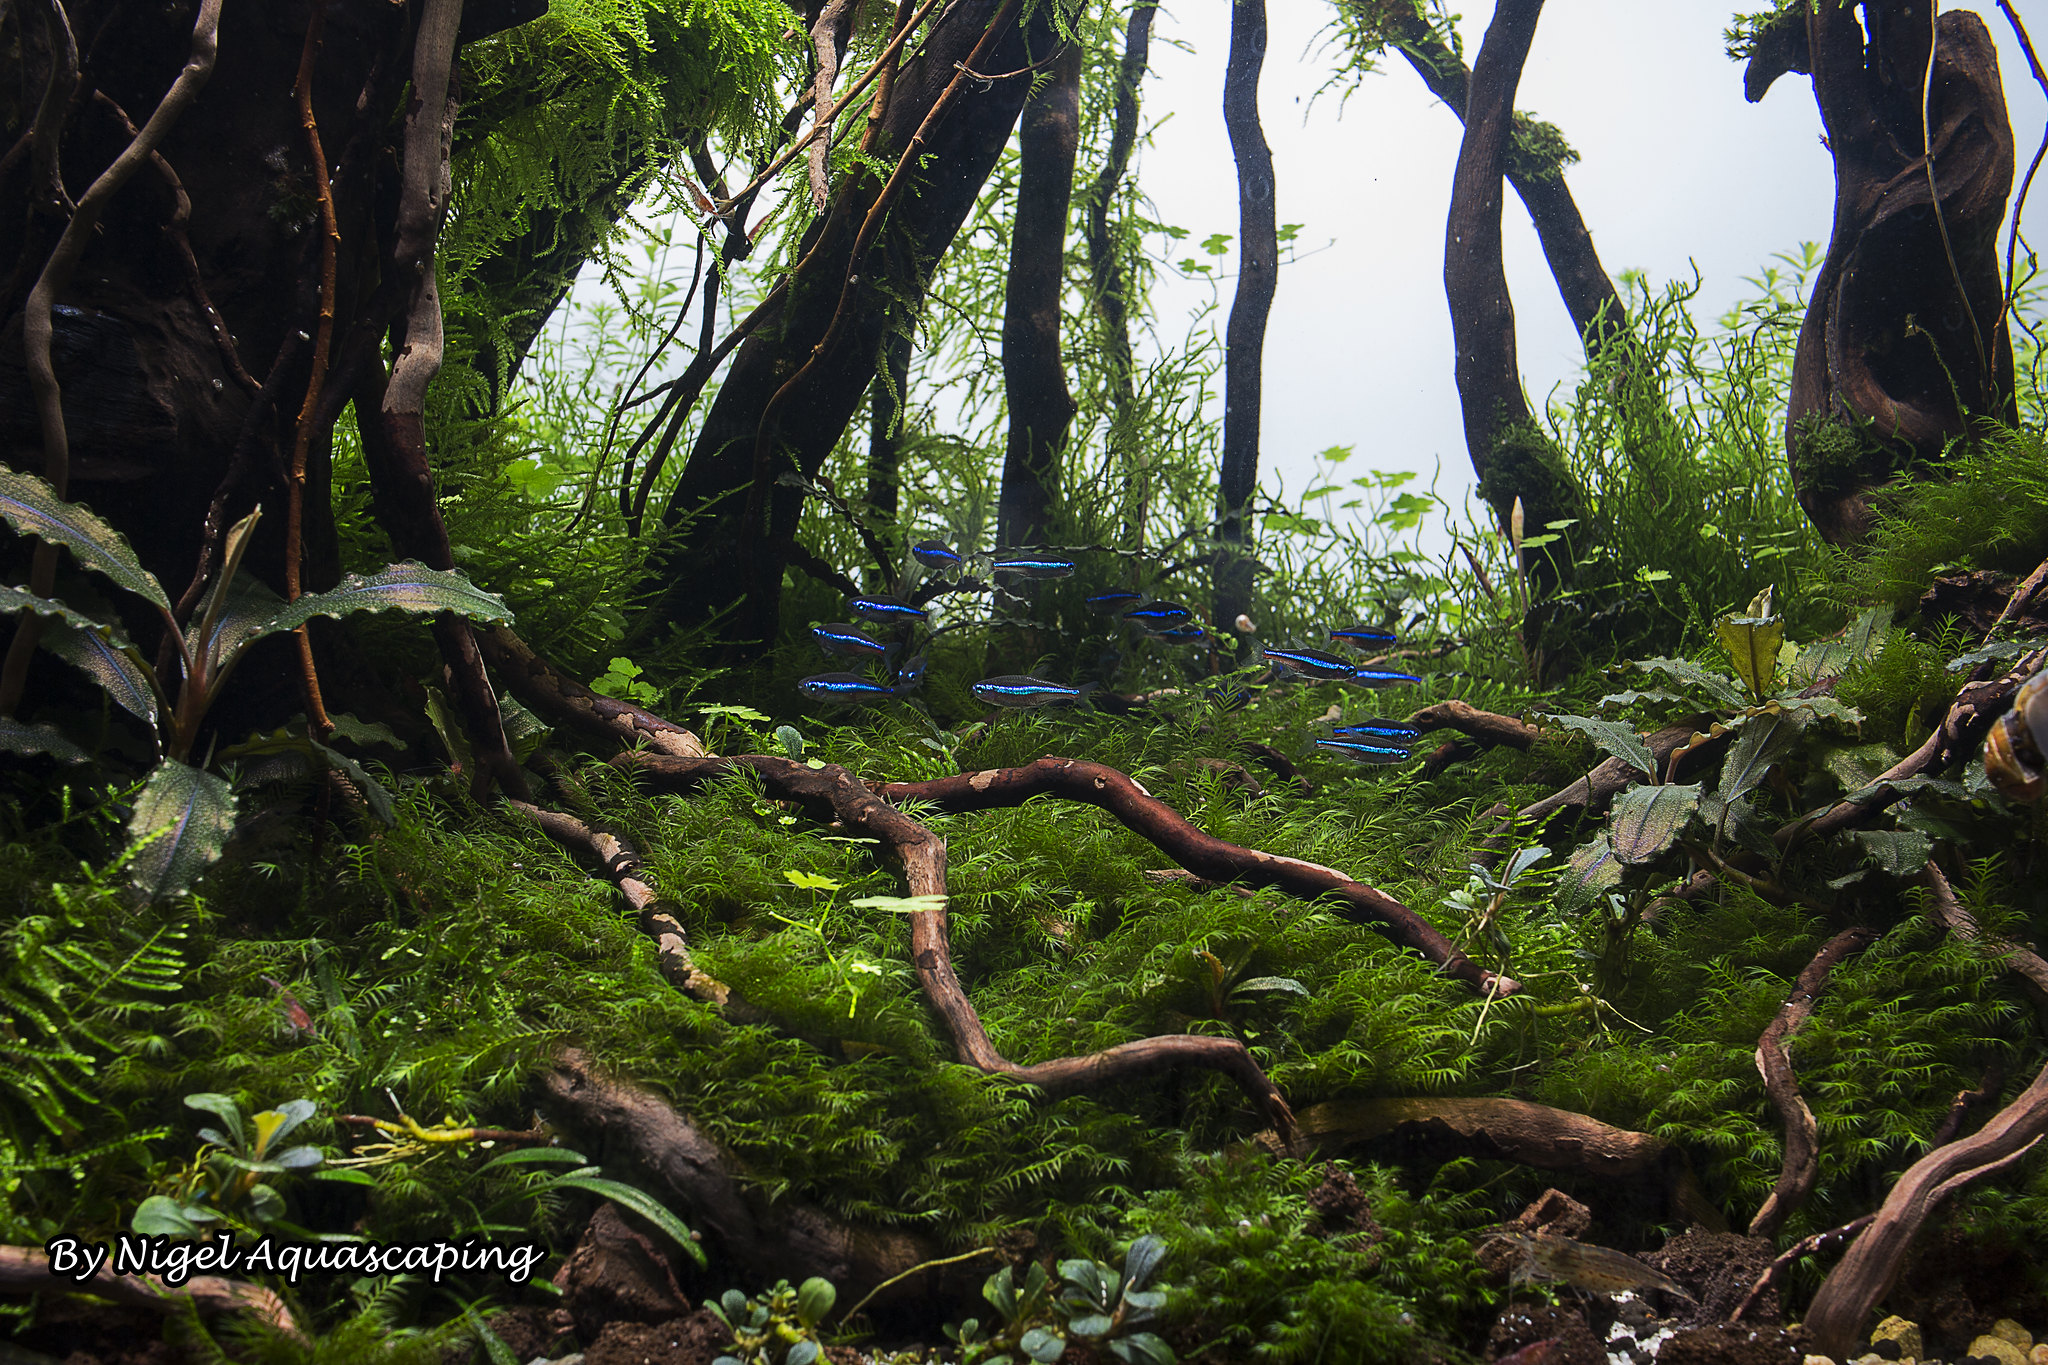 detail shot forest scape by nigel aquascaping by Nigel H, on Flickr


